(**) Disclosure: This post may contain affiliate links, meaning RealEstateCareerHQ.com will get a commission if you decide to make a purchase through the links, but at no additional cost to you.
If you’re a homeowner or someone new to the plumbing industry, then you probably are concerned that plumbing installations could be a daunting task. There seem to be so many different components and pieces that go into a plumbing system. For many beginners, it can be hard to know where to start.
Recently, I had a chance to speak with several professional plumbers. (Well, the kitchen sink of my 40+ years house was clogged a number of times, so they have been helping me fix it.) Along with my research, I found some interesting details about plumbing installations and would love to share them with you.
In this comprehensive guide, I will walk you through the entire process of installing a plumbing system in a home. By the end of this guide, you should have a pretty solid idea on what goes into a plumbing installation, from start to finish.
Before we start, just a brief disclaimer: The information in this guide is for general information only and is not intended to provide any advice or real estate training. Please consult a professional plumber/contractor and follow the State Law.
When do you install the plumbing system?
Plumbing installation generally happens during construction, whether for a new house or a renovation. The timing will depend on the project.
For example, if you’re building a new home from scratch, the plumbing will be installed after the framing is complete but before the drywall goes up.
If you’re renovating an older home, the plumbing installation will happen after demolition is finished and the new layout is determined. You might do this as part of a larger kitchen or bathroom remodel.
In some cases, you might need to install new plumbing even if you’re not doing any construction. This could happen if your old plumbing system fails and needs to be replaced or upgraded.
7 Steps to Install a Plumbing System
Step 1: Plumbing design

There’s a famous saying, “If You Fail to Plan, You Are Planning to Fail.” So the first step to your plumbing installation is to have a plan in place.
It’s important that the design is created by a qualified architect or engineer. It should outline every single plumbing line in the house, where the water is coming in and out.
Furthermore, it’s necessary for contractors or subcontractors to understand the plan before any actual work begins.
” A plumbing engineer is an engineering professional involved with the planning, design and installation of building systems related to plumbing, including water supply and drainage. Their role frequently overlaps other areas of mechanical and civil engineering. The systems they work on include standard plumbing for bathrooms, water supplies and drainage usually on a large scale. “
Quote from SOBIESKI
Step 2: Rough-in work
Typically speaking, the rough-in work will begin after the basic framework is completed, including the interior wall framing, floor joists, sub-flooring, ceiling joists, and roof rafters, but before the drywalls are installed.
At this point, you will install the water supply pipes (for both hot and cold water) and the toilet flanges. All lines would be connected to the stack, which is the main draining line.
“Your home’s plumbing stack is one of its most vital components. It serves as the main hub where your property’s plumbing fixtures branch from. It is the pipe system that wastewater and sewage flow into to be expelled into the sewer line below your house.
It also vents any noxious gas through a ventilation system in your roof. If you have an older cast iron plumbing stack, you need to watch for these warning signs that a replacement will soon be necessary.”
Quote from Bieg Plumbing
Some plumbers may perform an initial leak test. Then they will cap off these pipes before fixtures are installed.
Step 3: Install large fixtures
Many large fixtures cannot go through the doors. (i.e., bathtubs, jacuzzi) Therefore, before the walls go up, it is wise to put them in place. Then contractors can build the room around them.
Step 4: Main supply line
Once all the big fixtures are hooked up, the next step is to connect the main water supply line to the house. This line will split into two, one carrying cold water to the property and another to the water heater.

Keep in mind that pipes could burst during the winter if it is not located properly. Therefore, the main pressurized line must be below the ground under the frost level.
“Water transmission and distribution lines must be installed in accordance with the manufacturer’s instructions. However, the top of the waterline must be located below the frost line and in no case shall the top of the waterline be less than 24 inches below ground surface.”
Quote from Texas Administrative Code, RULE §290.44
Water will flow through the main water supply line into smaller ones, then to the fixture in the house (i.e., kitchen sink, shower.)
I’ve seen houses with a water control panel where it can control each water line individually. This is rather convenient when trying to fix a leakage problem.
For example, suppose there is a leakage in the laundry room. You don’t have to shut off the water of the entire house. Instead, you can just turn off the water supply line for that specific area, and the rest of the house can continue to have access to water.
Step 5: Drainage pipes
We’ve talked about the water inflow of the house, and now it’s time to go over the outflow, which is the drainage pipes. It takes the water and wastes away from the house.
Like the main water supply line, there’s the main stack to which all drainage pipes are connected. This is called the soil stack.
Once again, the drain should also be placed below the frost line to avoid bursting pipes due to freezing. All waste and sewage will be discharged through this pipe, then to the septic system or the municipal sewer lines.
Step 6: Vent pipes

Besides the drainage pages, you also need to install the vent pipes. Its purpose is to regulate the pressure in the drainage system, so that water can flow smoothly and prevent any blockage.
When you haven’t used your sink for a long time, the drain would be trapped with lots of air, which causes blockages in the drainage system.
Furthermore, the vented pipe helps release the bad odor from the wastewater and solids into the atmosphere.
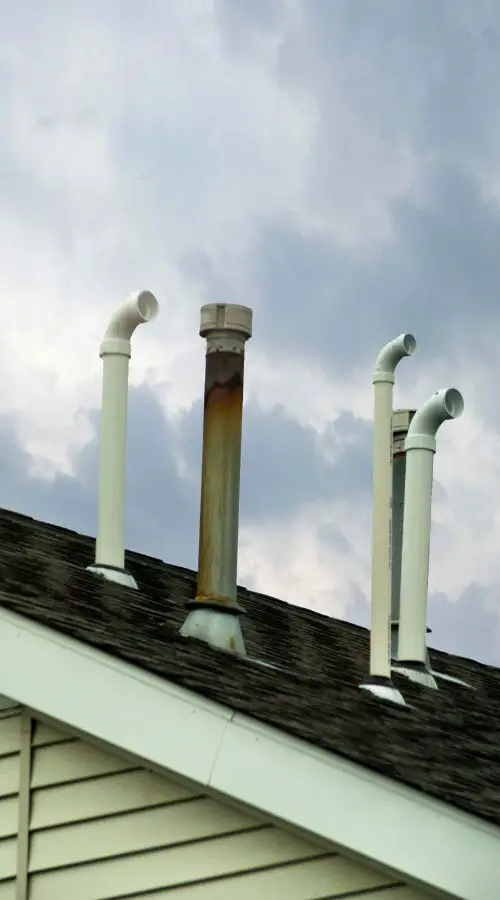
Vent pipes are installed on the roof of the house and are connected to the main stack and all branch drain lines. Without it, the unpleasant smell will enter the bathroom and toilet through the stack pipe.
“There may be chances of blockage of the soil vent pipe because of the nesting Birds. The blockage of the vent pipe creates air pressure inside it.
It is very necessary that pipes should be protected with the wire or the perforated cap which will help to cover the pipe and prevent any material falling into the pipe“
Quote from civiljungle.com
Step 7: Small fixtures

Now that we’ve discussed the main lines, it’s time to focus on the small fixtures, such as toilets, faucets, sinks, and the U traps.
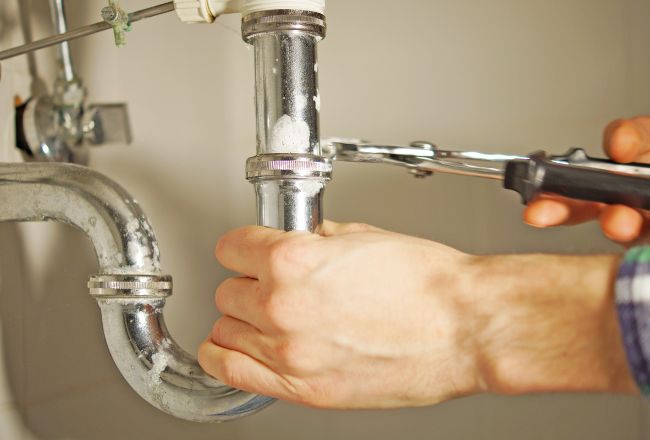
If you are unsure what traps are, just open the cabinet door of your kitchen sink or bathroom sink. You’ll see a U-shaped pipe. Since it always has a small amount of water, it prevents the backflow of sewer gases into the house.
And, of course, if you accidentally drop any jewelry such as rings, necklaces, or earrings down the sink, you might be able to retrieve them by removing the U-trap. But this is only given if you shut off the faucet quick enough.
I recently tried removing the U-trap in my kitchen sink, and it’s actually not as difficult as it seems. But make sure you clear off the space and shut off the associated water line before doing so.
Once the small fixtures and U traps are installed, you may hook up other appliances such as a washer, dryer, and fridge.
An Explanation Video on How a Home Plumbing System Works
Common Mistakes During Plumbing Installation
Despite careful planning, there are some mistakes that homeowners often make during plumbing installation. One of the most common mistakes is not properly sealing the connections between pipes. This can lead to leaks, which can cause significant damage to your home.
Another mistake is not correctly attaching the pipes to support beams or other structures in your home. This can cause the pipes to become loose over time and may eventually result in a rupture.
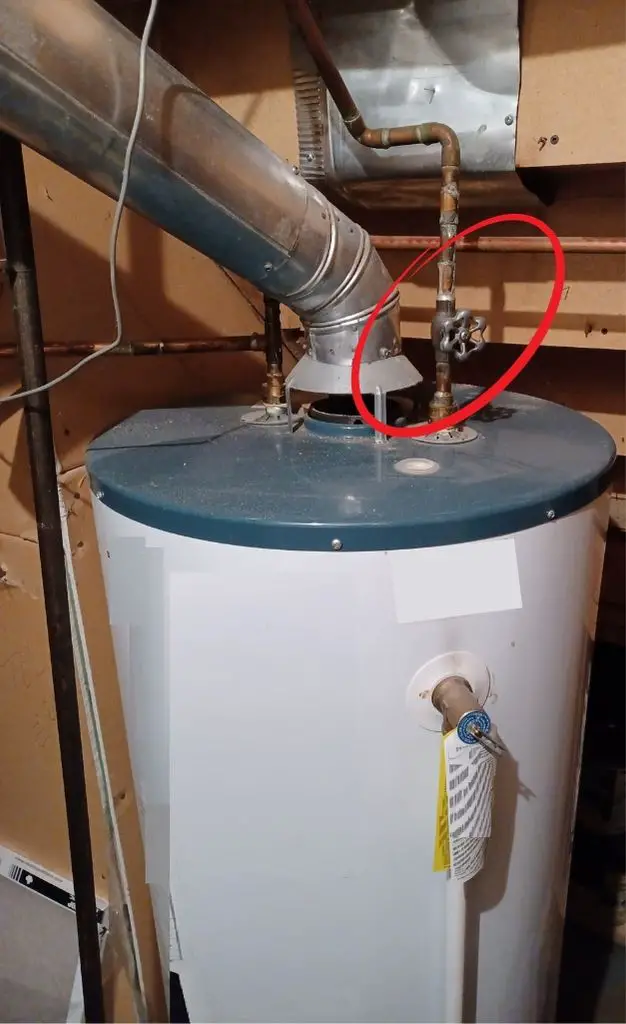
Finally, many homeowners forget to install an access panel near their water heater. This makes it difficult to perform maintenance on the heater, and it also increases the risk of flooding if there’s a problem with the heater.
Final Words on Plumbing Installations
I hope that this guide has been helpful in your plumbing installation journey!
That being said, some people may choose to do plumbing installation as a DIY project. However, I don’t recommend this unless you have experience with plumbing and know exactly what you’re doing.
Plumbing is a complex system, and even a small mistake can cause big problems down the road.
Remember to take your time, do your research, and always consult with a professional if you have any questions. With careful planning and execution, you can install a plumbing system that will last for years to come. Thanks for reading!
(**) Affiliate Disclosure: Please note that some of the links above are affiliate links, and at no additional cost to you. Our company, JCHQ Publishing will earn a commission if you decide to make a purchase after clicking on the link. Please understand that we include them based on our experience or the research on these companies or products, and we recommend them because they are helpful and useful, not because of the small commissions we make if you decide to buy something through the links. Please do not spend any money on these products unless you feel you need them or that they will help you achieve your goals.
Disclaimer: The information in this post is for general information only, and not intend to provide any advice. They are subjected to change without any notice, and not guaranteed to be error-free. Some of the posts on this site may contain views and opinions from individual not related to JCHQ Publishing. They do not necessarily reflect our view or position.
Source:
- Fieldwire – rough in (source)
- Texas Administrative Code – RULE §290.44 Water Distribution (source)
- Civil Jungle – soil vent pipe (source)
- Sobieski Services- 5 Reasons Why You Need a Plumbing Engineer When Constructing a New Building (source)
- Bieg Plumbing – 6 Warning Signs to Replace Plumbing Stack (source)

